
Installing laminate wood flooring can be a rewarding project that enhances the look of your home. With its affordability, durability, and ease of maintenance, it is a popular choice among homeowners. If you’re considering installing laminate wood yourself, follow this simple step-by-step guide to achieve a flawless finish.
1. Prepare Your Space
Before you begin, ensure that the room is ready for installation. Start by removing any furniture and old flooring. Clean the subfloor thoroughly to remove dust, debris, and any other obstacles.
Laminate wood flooring can be installed over most types of subfloors, but make sure it’s dry, clean, and level. If there are any bumps or dips, use a leveling compound to smooth out the surface.
2. Acclimatise the Laminate Wood Flooring
Laminate wood needs to acclimatize to the room’s temperature and humidity before installation. Leave the laminate planks in the room for at least 48 hours before beginning the installation process.
This step helps prevent expansion or contraction after installation, ensuring the flooring fits perfectly.
3. Lay the Underlay
An underlay is essential for laminate wood flooring as it provides cushioning, noise reduction, and moisture resistance. Roll out the underlay in the room, making sure it runs in the same direction as the laminate planks.
Overlap the edges of the underlay slightly, but avoid overlapping the joints, as this can affect the installation.
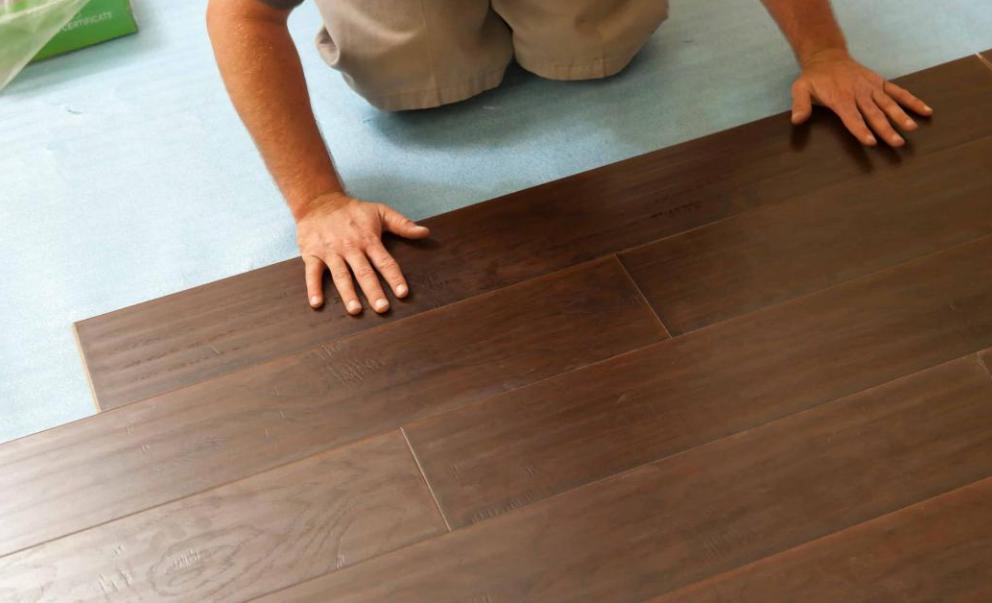
4. Start Installing the Planks
Begin installing the laminate planks in one corner of the room, leaving a small gap (usually about 10mm) along the walls. This gap allows the laminate to expand and contract with temperature changes. Place the first plank down, ensuring it is straight.
Continue laying the planks row by row, clicking them together along the tongue-and-groove edges. Use spacers along the walls to maintain the required gap.
5. Cut the Last Row of Planks
When you reach the final row, you may need to cut the planks to fit. Use a saw or laminate cutter to make precise cuts. Be sure to measure accurately before cutting to avoid any mistakes. Once the last row of planks is in place, remove the spacers and install baseboards to cover the expansion gap.
Installing laminate or cheap hardwood flooring can be a straightforward DIY project with the right tools and preparation. By following these simple steps, you’ll achieve a professional-looking floor that enhances the style and functionality of your home. With its ease of installation and long-lasting durability, this type of wood is an excellent choice for any room in your house.