
A wall or floor might seem messy due to a broken tile. Many homeowners can handle the chore of repairing damaged tile on their own, regardless of whether it was caused by an accident or heavy usage. The broken piece may be removed and replaced without damaging the other tiles if the proper procedures are followed.
Here are seven pointers to help you succeed.
1. Examine the area and tile
Take a careful look at the replacing broken tiles. Larger cracks need a complete replacement, while minor chips may sometimes be repaired with filler. Examining the immediate surroundings aids in avoiding more harm when removing.
2. Gather the Appropriate Equipment
A chisel, hammer, grout remover, glue, and a new tile that matches are required. You can shield yourself from dust and sharp edges by wearing gloves and a mask. The task is safer and simpler when the right instruments are used.
3. Carefully remove the broken tile.
The first step is to remove the grout around the tile. The fractured parts may then be removed using a chisel and hammer. To prevent breaking adjacent tiles, take your time. If you are doing a more extensive repair, a home project manager may provide guidance on sequencing.
4. Make the Surface Clean
After removing the tile, clean any remaining dust and glue. To ensure that the new tile adheres correctly and lies level, the surface must be clean.
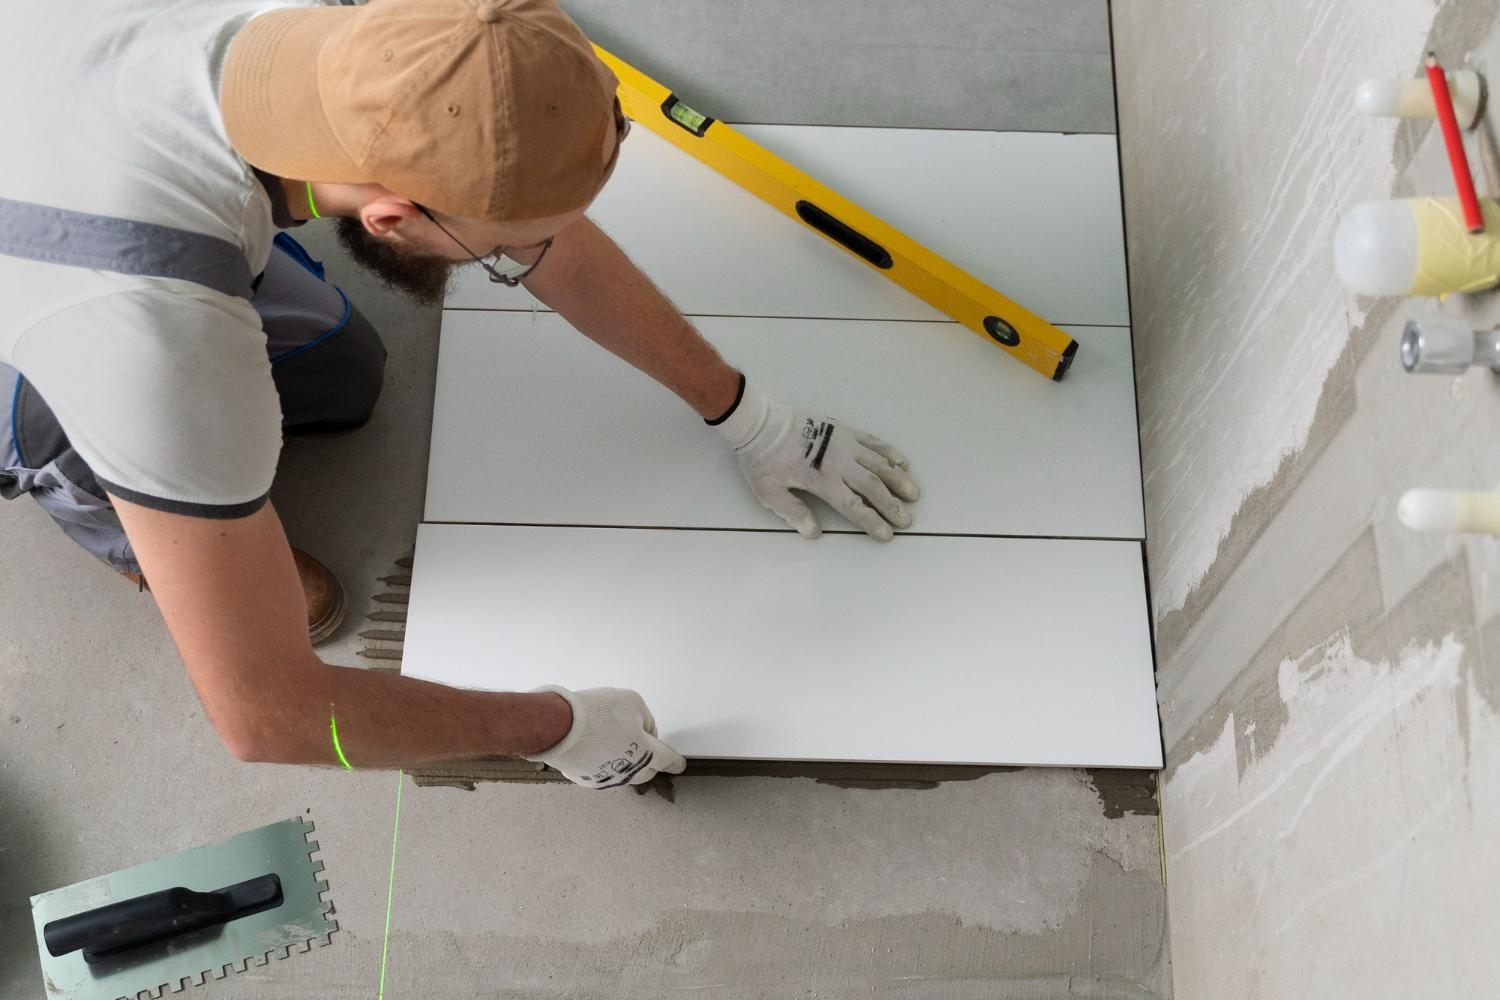
5. Use Adhesive
Evenly cover the area with a thin coating of glue. Make sure the new tile is level with the ones around it before pressing it into position. Later, uneven walls or floors may be avoided with a level tile.
6. Give the Adhesive Time to Set
While the glue cures, let the tile alone. Observe the drying duration specified on the product’s label. The tile may slide or lift if you walk on it too quickly.
7. Finish and Regrout
Use grout that matches the current grout to fill in the spaces around the tile. Using a sponge, smooth it over and remove any excess. Grout sealing aids in stain and water resistance.
If done correctly, replacing a damaged tile may be easy. You can prolong the repair and keep your space looking nice by following these seven procedures. The procedure will go more smoothly and the replacement of damaged tile will seem tidy and professional if you take your time and pay attention to the little things.